
Customizing your Store on Ololo Express is a crucial step towards establishing your brand and attracting customers. A well-set-up account not only reflects your business’s professionalism but also enhances customer trust and engagement. This guide walks you through the process of optimizing your Ololo Express Store, from adding eye-catching visuals to detailing your store’s history and offerings.
Before Store feature can be visible in your account, you must Activate membership by subscribing to any of the three membership subscriptions. You will also be required verify your account by using Account verification feature to submit Photo ID card to begin the verification process.
1. Adding a Banner Image
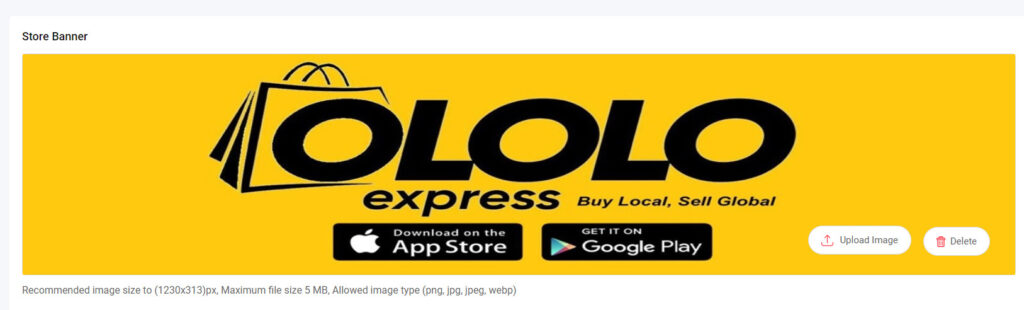
- Importance: Your banner image is the first visual impression customers have of your store. It should represent your brand and catch the customer’s eye.
- How-To: Navigate to the banner image section in your account settings. Upload an image with the recommended size of 1230×313 pixels. Ensure the file size does not exceed 5 MB, and use formats like png, jpg, jpeg, or webp for optimal quality.
- Tips: Choose an image that is relevant to your store and products. High-resolution images with clear branding elements work best.
2. Uploading Your Store Logo
- Importance: A logo is a symbol of your brand’s identity. It should be recognizable and consistent across all your marketing materials.
- How-To: In the logo section, upload your logo with the recommended dimensions of 180×140 pixels. Stick to the 5 MB file size limit and use accepted formats.
- Tips: Keep your logo simple yet memorable. Ensure it’s visible and legible, even in smaller sizes.
3. Setting Store Opening Hours
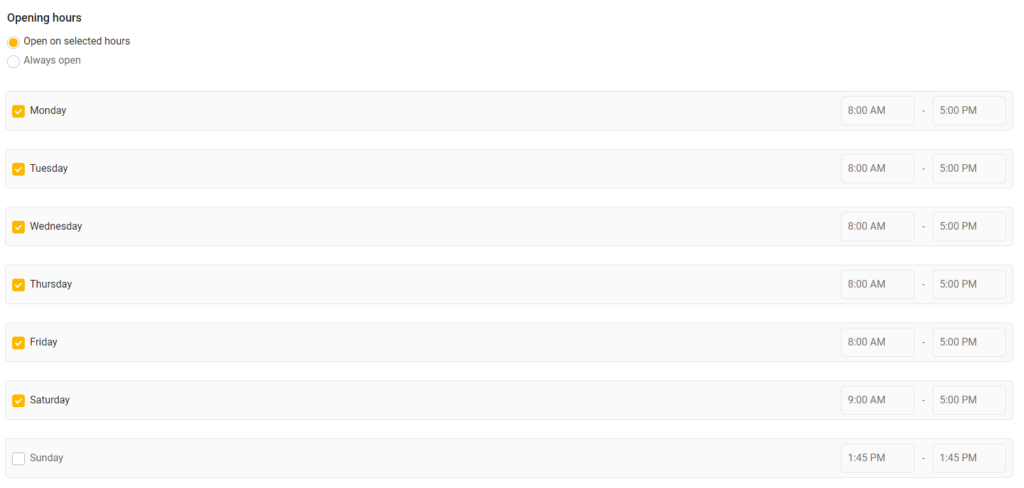
- Importance: Clearly displayed opening hours inform customers when they can expect responses or services.
- How-To: Input your business hours in the provided section. Be accurate and update them regularly to reflect any changes.
- Tips: If your store operates online round the clock, mention this to manage customer expectations.
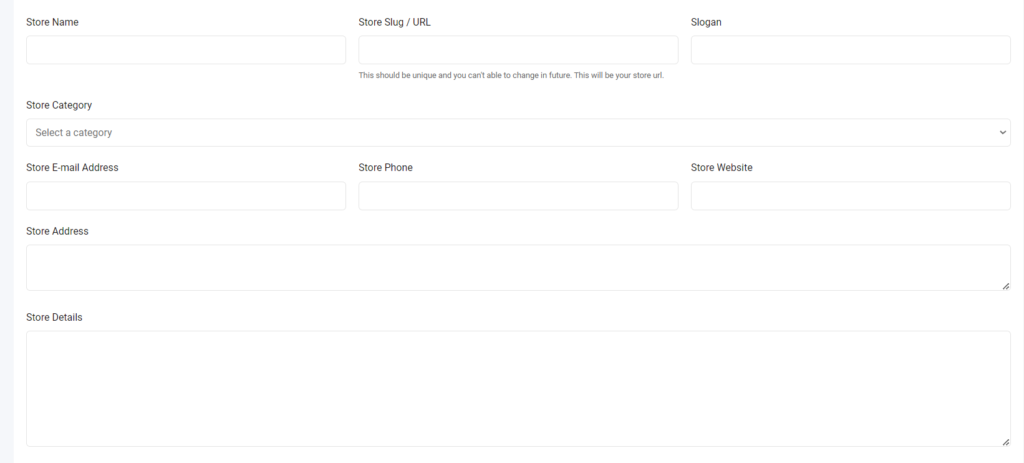
4. Adding Store Name and Contact Details
- Importance: This information guides customers on who you are and how to reach you.
- How-To: Enter your store’s official name and contact details, including an email address and phone number, in the respective fields.
- Tips: Use a professional and easy-to-remember store name. Make sure your contact information is up-to-date.
5. Selecting a Store Category
- Importance: The right category places your store in the appropriate search and browse sections, making it easier for customers to find you.
- How-To: Choose a category that best represents your product range from the list provided.
- Tips: If your store offers a variety of products, pick the most dominant category or the one you wish to highlight.
6. Writing a Store Summary and Profile
- Importance: This section tells the story of your business, including your background, product range, and unique selling points.
- How-To: Craft a brief yet informative summary, including key details about your store’s history, product and service offerings, and any unique aspects of your business.
- Tips: Keep it concise and engaging. Use this space to differentiate your store and communicate your brand values.
Conclusion: Customizing your seller account on Ololo Express is more than a technical task; it’s an opportunity to showcase your business’s personality and commitment to quality service. By following these steps, you can create an attractive and informative profile that resonates with customers and stands out in the marketplace.
Call to Action: Take the first step towards a more professional and appealing online presence on Ololo Express. Log in to your account and start customizing your profile today. Your enhanced seller account is just a few clicks away!